Welcome to the Coll-In Installation Guide
Coll-In Local is a collaboration platform designed to support teamwork, communication, and shared working. It runs on Windows and allows teams to present, organise, and interact with content in real time.
This guide explains how to install Coll-In using the installation file provided. It is suitable for first-time installations as well as updates to an existing system.
Before starting the installation, make sure you have the required permissions on the computer and that the system meets the minimum requirements. This will help ensure the installation completes smoothly.
System Requirements
Before installing Coll-In Local, make sure the system meets the requirements below. This helps avoid compatibility or performance issues during installation and use.
Minimum Requirements
•Operating system: Windows 11 (64-bit)
•CPU: Intel i5, 12th generation
•RAM: 8 GB
•Storage: 120 GB available space
•DK2 USB key: Provided by FUTURESoftware
•Installer package: Coll-In Local Installer
•Includes all required dependencies, libraries, and supporting components
Recommended Requirements
**For best performance, especially in higher-demand environments, the following specifications are recommended.
•Operating system: Windows 11 (64-bit)
•CPU: Intel i7, 12th generation
•GPU: Nvidia 1660
•RAM: 16 GB
•Input card: Datapath VisionSC-HD4+
•Storage: 500 GB available space
•DK2 USB key: Provided by FUTURESoftware
•Installer package: Coll-In Local Installer
•Includes all required dependencies, libraries, and supporting components
Before You Continue
•Confirm the system meets the minimum or recommended requirements
•Ensure the DK2 USB key is available
•Verify sufficient storage space is free
Pre-Installation Steps
Before installing Coll-In Local, complete the following checks to ensure a smooth installation.
•Use a dedicated machine
Make sure the target computer does not contain important or sensitive data. Once installed, Coll-In Local takes control of the Windows environment and restricts the device for Coll-In use only.
•Administrator access
Log in using an administrator account on the target machine. Administrator privileges are required for the installation to complete successfully.
•Prepare the installer
Copy the Setup Coll-In Local.exe file to the target machine. This installer contains everything needed to install and configure Coll-In Local.
Installation Procedure
Launch the Installer
Double-click the Setup Coll-In Local.exe file on the target machine to begin the installation process.
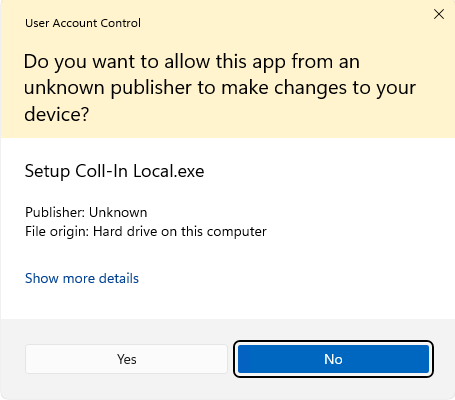
User Account Control (UAC)
When the Windows User Account Control prompt appears, select “Yes” to allow the installer to make changes to your device.
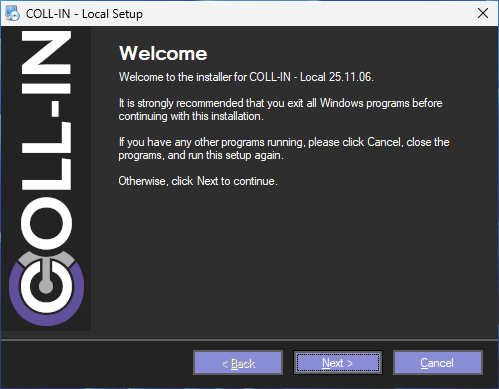
Welcome Screen
On the Coll-In Local Setup welcome screen, click “Next” to continue.
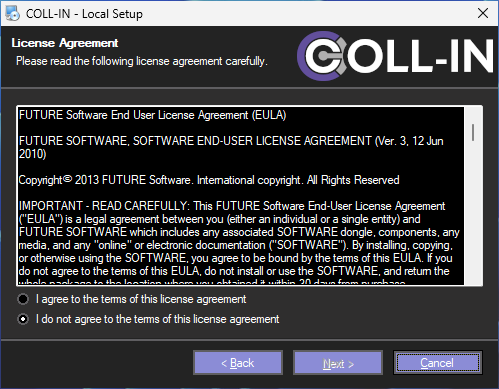
License Agreement
Carefully read the License Agreement. If you agree to the terms, select “I agree to the terms” and click “Next” to proceed. (You must accept the agreement to continue the installation.)
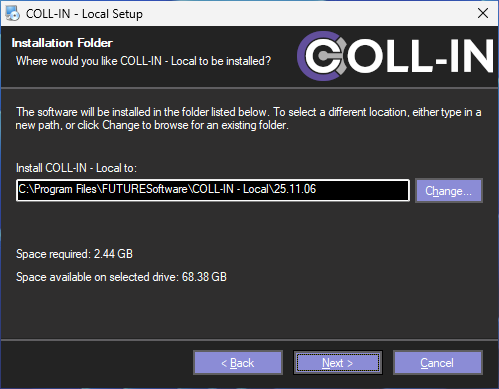
Installation Location
Choose the destination folder where you would like to install Coll-In Local, or leave the default location selected. Click “Next” to continue.
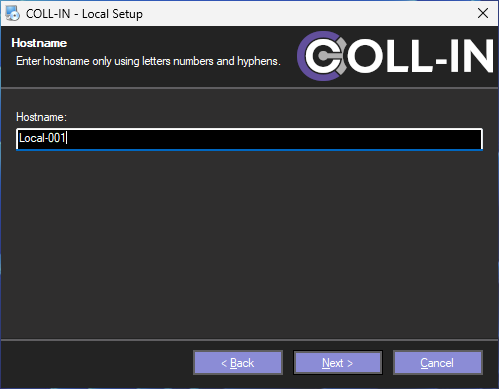
Set Hostname
Assign a unique Hostname to the device (for example, local-001) and click “Next” to proceed.
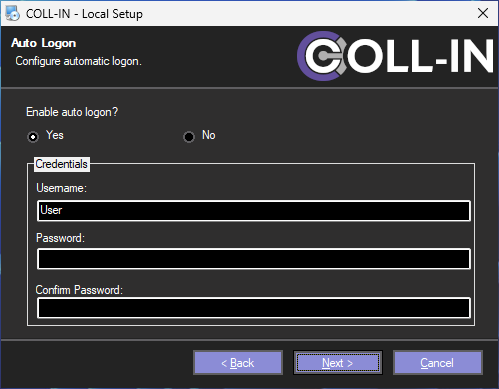
Auto Login Configuration
During installation, you can choose whether Coll-In should start automatically when Windows boots.
•Select Yes to enable automatic login
Coll-In will log in automatically and start when the computer is powered on. You will be asked to enter the username and password of the current Windows user account.
•Select No to disable automatic login
Windows will start normally, and Coll-In can be launched manually after login.
Once you have made your selection, select Next to continue with the installation.
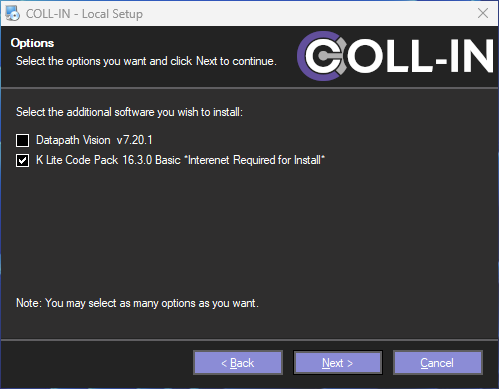
Optional Package Selection
During installation, you can choose to install additional components depending on your system setup.
•Datapath Vision
Select this option if the system includes a Datapath input card.
•K-Lite Codec Pack
Select this option to enable playback of MP4 video files within Coll-In.
Choose the options that match your system configuration. When you are ready, select Next to continue.
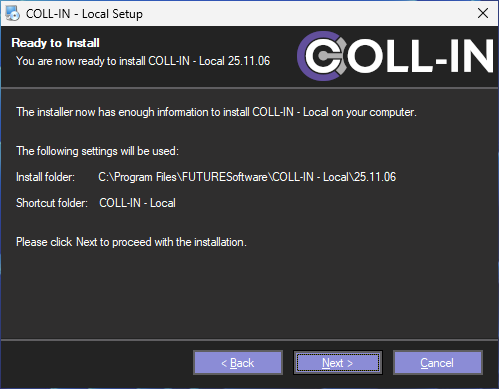
Confirm Installation Settings
Review the summary page to confirm all the setup options you have selected.
If everything appears correct, click “Next” to begin the installation process.
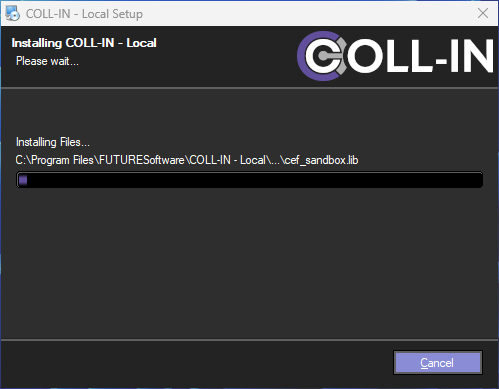
Installation in Progress
Please wait while Coll-In Local installs the necessary files.
The progress bar will indicate the installation status and fill as the process continues.
This step may take several minutes to complete.
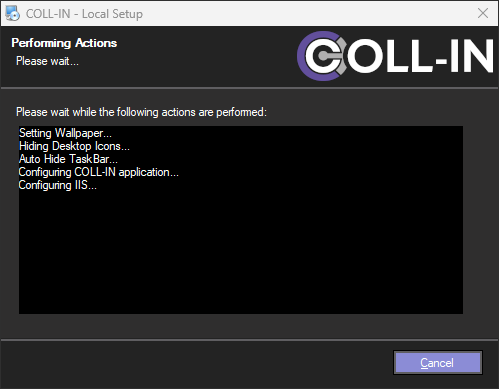
Installation Tasks in Progress
During installation, a progress window will display the tasks being carried out. The information shown will update automatically as each step completes.
Some stages of the installation may require user interaction. If this happens, follow the on-screen instructions or respond to any additional windows that appear to allow the installation to continue.
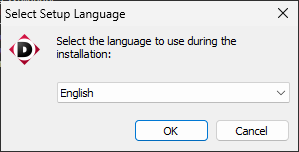
DK2 Library Installation
During installation, the DK2 setup window will open. DK2 is a required component and must be installed for Coll-In Local to function correctly.
When the DK2 language selection screen appears, select English and then click OK to continue with the DK2 installation.
Follow any on-screen instructions until the DK2 setup has completed, after which the Coll-In installation will continue automatically.
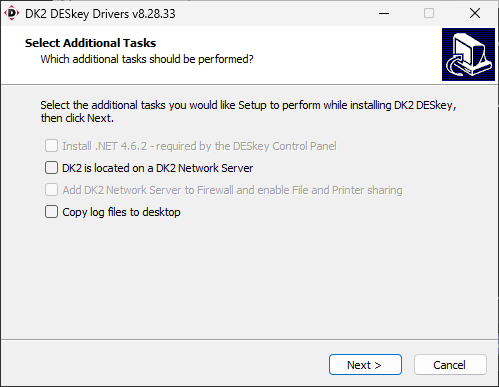
DK2 Additional Resources
On the DK2 additional resources screen, no extra components are required for Coll-In Local.
Leave all options unchecked and select Next to continue the installation.
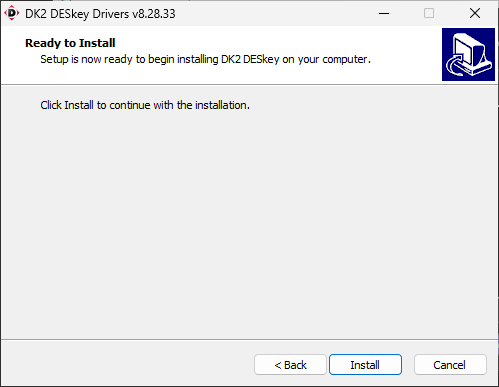
DK2 Ready to Install
On the DK2 Ready to Install screen, click “Install” to begin the installation of the DK2 library.
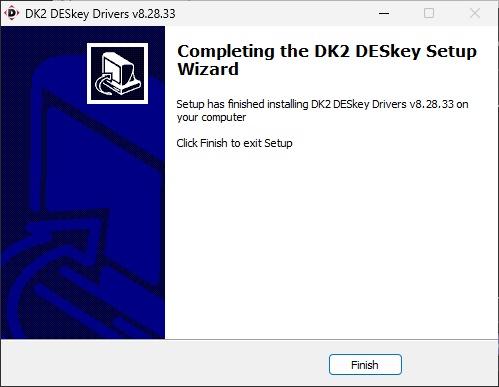
DK2 Installation Complete
Once the DK2 installation has finished, an installation complete screen will appear.
Select Finish to close the DK2 installer and return to the main Coll-In Local installation process.
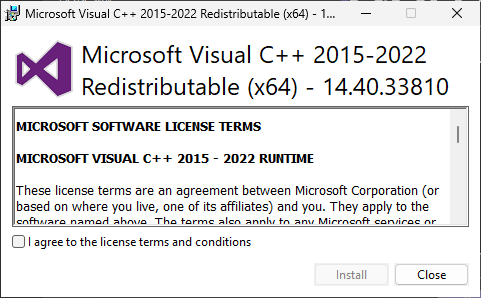
Microsoft C++ Library Installation
During the installation, a Microsoft C++ Redistributable setup window will appear. This component is required for Coll-In Local to run correctly.
Review the licence terms shown in the window. If you agree to the terms, select I Agree to allow the installation to proceed.
Once accepted, select Install to begin installing the Microsoft C++ library. The Coll-In installation will continue automatically after this step completes.
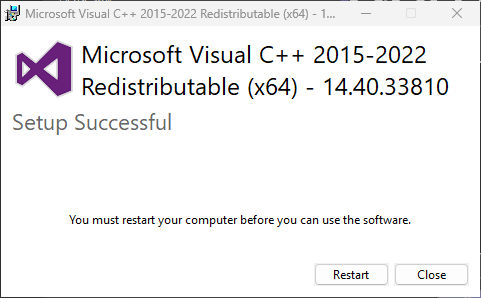
Restart Prompt After Microsoft C++ Installation
After the Microsoft C++ library has installed successfully, you may see a prompt asking you to restart your computer.
Do not select Restart, as this would interrupt the Coll-In Local installation. Instead, select Close to return to the installer and allow the setup to continue.
The computer can be restarted later if required, once the full Coll-In installation has completed.
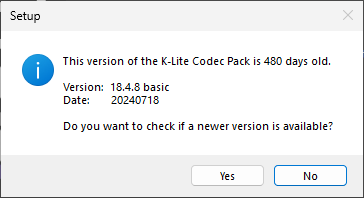
K-Lite Codec Installation (If Selected)
If you chose to install the K-Lite Codec Pack, you may see a prompt asking whether you want to download the latest version.
The Coll-In Local installer already includes an up-to-date version of K-Lite. Select No to skip the download and continue with the installation.
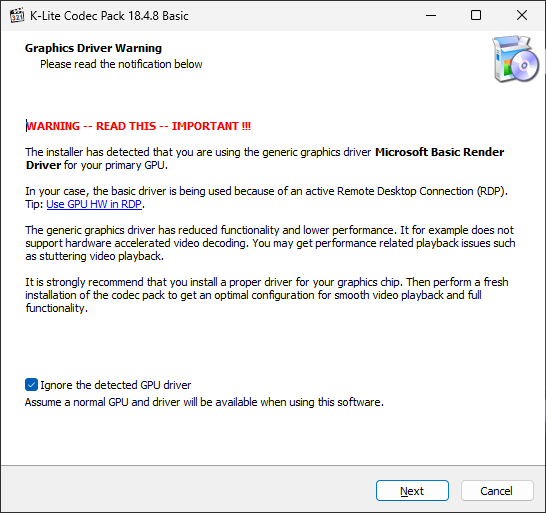
K-Lite Graphics Warning
During the K-Lite Codec installation, a graphics warning screen may appear.
Select Next to continue with the installation.
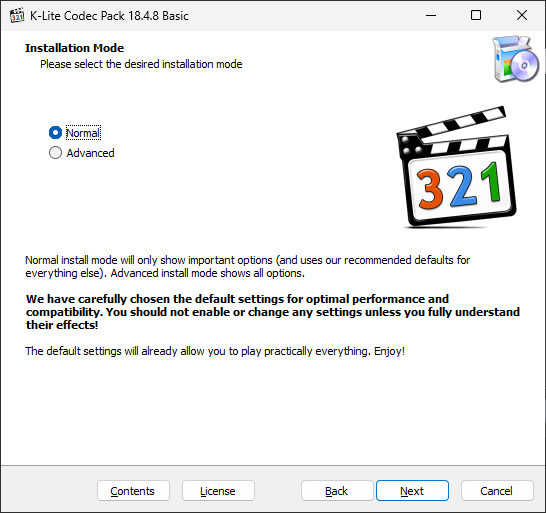
On the K-Lite Installation Mode screen, select “Normal” as the installation type.
Click “Next” to continue with the installation.
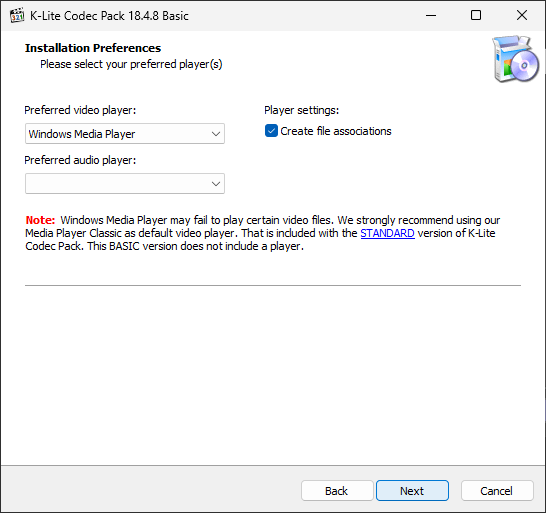
On the K-Lite Installation Preferences screen, leave all settings at their default values.
Click “Next” to proceed with the installation.
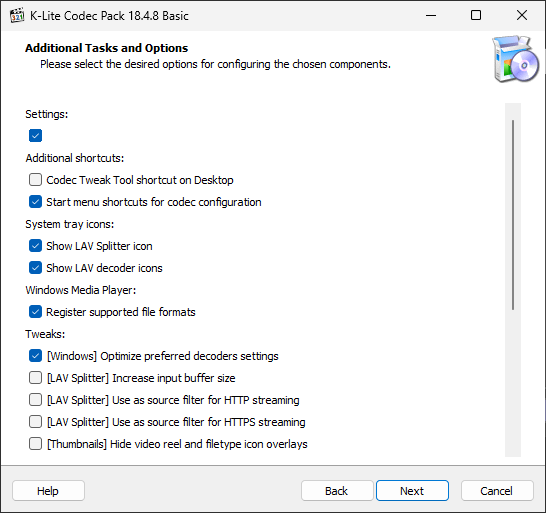
On the K-Lite Additional Tasks and Options screen, leave all options at their default settings.
Click “Next” to continue with the installation.
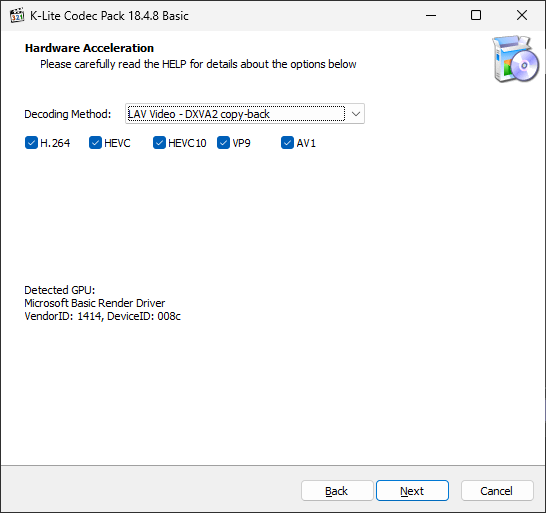
On the K-Lite Hardware Acceleration screen, leave the settings at their default values.
Click “Next” to continue with the installation.
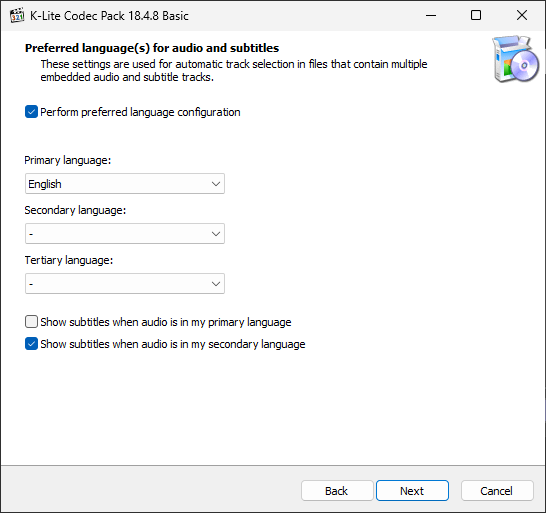
On the K-Lite Preferred Languages screen, leave the default language settings unchanged.
Click “Next” to proceed with the installation.
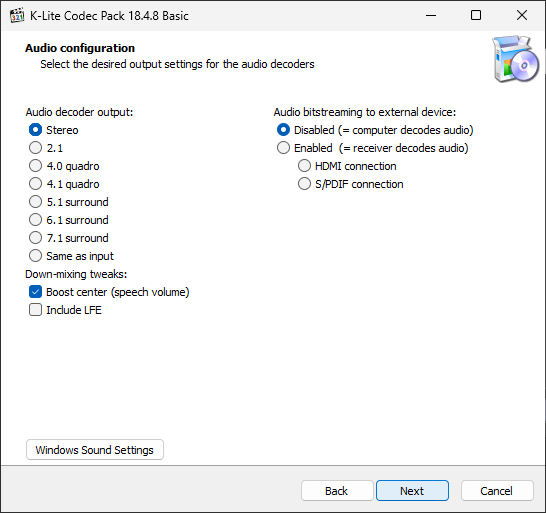
On the K-Lite Audio Configuration screen, leave all settings at their default values.
Click “Next” to continue with the installation.
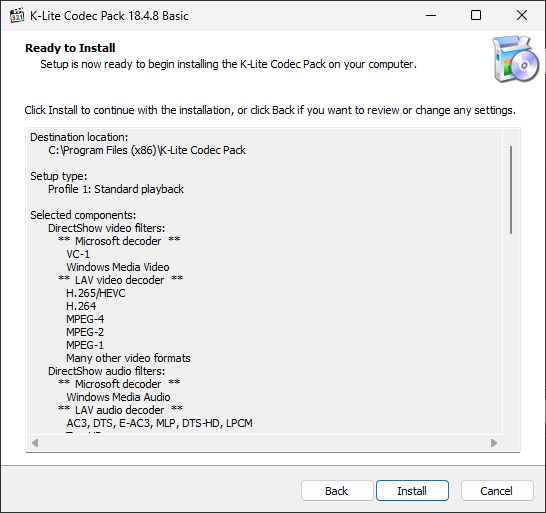
On the K-Lite Ready to Install screen, review all selected options to ensure they are correct.
Click “Install” to begin the installation process.
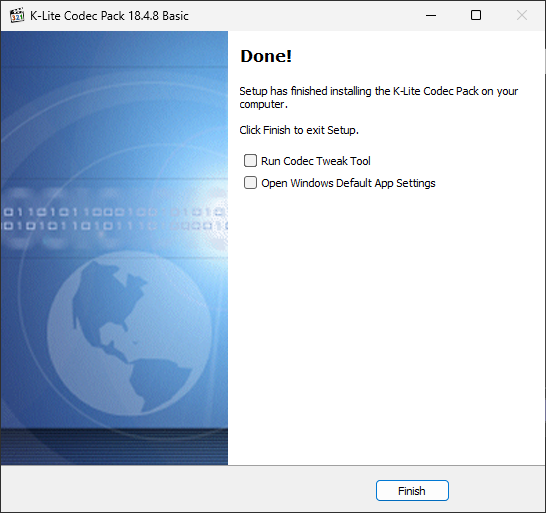
Once the K-Lite installation finishes, the window will display “Done”.
Click “Finish” to close the installer and return to the main Coll-In Local setup.
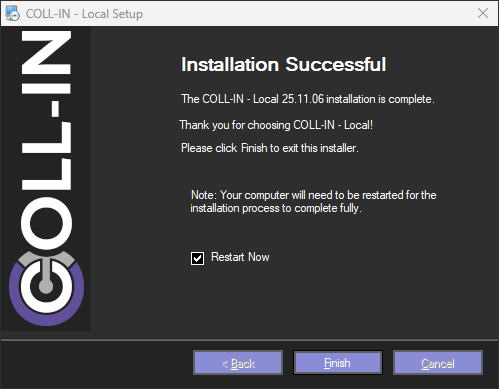
Installation Complete and Restart
Once the Coll-In Local installation has finished, a confirmation message will appear in the setup window.
Make sure Restart Now is selected, then click Finish to complete the installation. The system will restart automatically.
After restarting, the computer will boot directly into the Coll-In splash screen. This confirms that the installation is complete and the system is ready for use.