Organising Content Folders
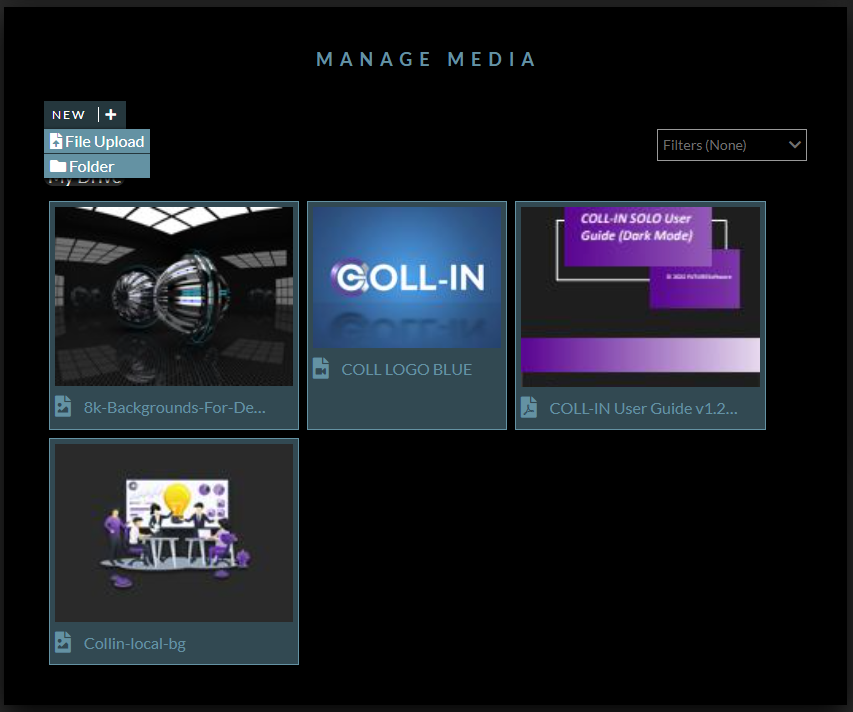
The Web Portal allows you to organise media into folders, so content is easier to find and manage. Using folders helps keep your media library clear and structured, especially when working with many files.
Folders can be used to group media by project, topic, event, or presentation. A well organised folder structure makes preparation quicker and helps presentations run smoothly.
To begin organising your media, open the Media area of the Web Portal. This is where all uploaded files and folders are displayed. Once the page has loaded, you will be able to see existing media and access options for organising content.
If the Media page does not display correctly, refresh your browser and confirm that your device is still connected to the same network as the Coll in device.
Within the Media area, you can create new folders to organise your content. When adding a folder, choose a clear and descriptive name that reflects the type of media it will contain. Using meaningful folder names makes it easier to locate content later and helps maintain consistency across the system.
After a folder has been created, media can be added to it during upload or moved into it afterwards. Organising content as you upload it helps keep the media library tidy and reduces the need for reorganisation later.
Taking time to structure your folders carefully will make managing content easier and improve the overall workflow when preparing presentations or collaborative sessions.
Once you have entered a name, confirm the action to create the folder. The new folder will then appear in the Media Library and be ready to use.
If needed, folder names can be changed later, depending on your user permissions
Open the Folder
After creating a folder, you can open it to begin adding media. Select the folder name or icon to open it. If no content has been added yet, the folder will appear empty. Once the folder is open, the interface will display upload options that apply specifically to that folder.
If the folder does not open, make sure your browser is up to date and refresh the page. You should also check that your user account has permission to access and manage folders.
Upload Media into the Folder
With the folder open, you can begin adding content.
•Upload media using the Upload Media option or by dragging and dropping files into the upload area
•Select one or more media files from your device
•Wait for the upload progress to complete
Once uploaded, all files will appear inside the folder.
Organising media into folders as you upload it helps keep the main Media Library tidy and makes content easier to manage later.
Confirm Folder Organisation
After uploading media, check that everything appears as expected.
•Confirm that all files are visible within the folder
•Check that thumbnails or previews load correctly
•Use sorting or filtering options, if available, to arrange files by name, type, or upload date
If files do not appear correctly, refresh the page, check your network connection, and confirm that your account has permission to upload media.
Folder Management Tips
•Use clear and consistent names for folders, especially when multiple users access the system
•Avoid special characters in folder names unless required
•Keep folder structures simple, as too many nested folders can make navigation harder
•If a folder is created in the wrong location, it can usually be renamed or moved, depending on your permissions
Summary
Creating folders in the Media area helps keep content organised and easy to find. By creating a folder, opening it, and uploading media directly into it, you can maintain a clean and structured media library as your collection grows.